
From Digital to Physical
So after a long and arduous wait me and my buddy Simon finally found a weekend when we were both free for me to come over to his studio in London and have a go with some of his equipment. Simon’s a professional artist and bespoke furniture maker who likes to combine the two resulting in some pretty weird ass lumpy things to sit on. My plan was to cast some replicas of the agent from Salvaged that I’d had 3D printed a few month’s prior and posted over from America.

Just some of the weird shit found on Simon’s estate.
The process turned out to be reasonably straight forward though distinctly fiddly. The detail on the 3D print was so high there were times when we literally couldn’t see what we were doing as the parts were so small.
First job was to build a box to hold the mould in. I felt this was overkill and we could just go with a shop bought Tupperware box but Simon likes to do things proper and he had this sweet neon plastic you’re normally only allowed to make bongs out of. It’s a fantastic glowing orange, the same colour my pee went after knocking back too much Berocca so I was sold.
Basically the box is made up so that the figure would sit inside comfortably with about 1cm minimum clearance between any part of him and the walls. All 6 sides are glued together and then the whole thing is sawn in half so you get a perfect fit. Then a large hole is drilled in the back face of each section for the silicon to be poured though. It’s thick stuff so the holes gotta be fairly meaty.
This particular mould only needed to be made in two parts so to make the first the figure was placed inside one of the box sections and part submerged in modelling clay. You need to be able to split the mould into sections that can be pulled apart after casting. We had to be especially conscious about his gun arm and make sure the ridge ran all the way along it.
A number of intents are made into the clay and a grove surrounding the model to force the two mould half’s to line up again perfectly. Once we were happy with the ridge line the model was sealed inside the box with a glue gun. You’ll want to make sure you get a complete seal here so the silicon doesn’t piss out the edges when your pour.
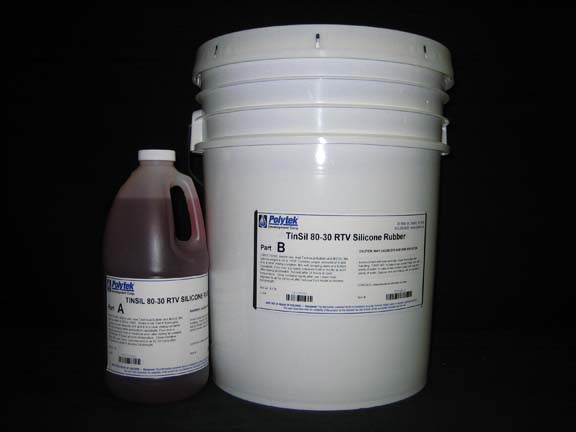
TinSil® 80-30 Silicone Rubber

Frozen in Carbonite!

Our perspex coffin
Encased in his little neon bong coffin be bore a striking resemblance to Snow White in her glass casket awaiting a very dubious prince and his wandering lips. We mixed up the silicon, degassed it under a vacuum and then poured it all over our sleeping little dude. This felt pretty evil as his face finally sank below the waves and he could be seen no more.
We then had 24 hours to kill so we ate a lot of soft cheese from Aldi. This was later regretted but I shall be omitting the details from my account as in the style of H.P Lovecraft -the memories were too horrific to account and would drive a man mad in their telling. Fortunately Aldi’s bath room supplies are as well priced as their cheese.
24 hours later we removed the glue from the box edge and opened the it being careful to make sure the figure stayed stuck in the silicon half and not the modelling clay half. The clay was now removed from the box and around the figure entirely, initially using a scalpel then a tiny brush. I’m not sure why they decided to make the silicon flesh coloured but it unnerved me, so we decided to add a little dye to this half of the mould.
When pouring the compound used in the actual casting it’s necessary to have channels in the mould for the air to escape from, as well as the entry point. These were to be added to his elbows so two small holes were drilled into the box above these locations and thin wooden skewers were pushed through them. Once again the box was sealed shut with a glue gun and silicon was poured into the other half of the mould. We also poured the excess silicon into a baking tray, we’d be able to check the consistency of this later to see if the real mould had set yet.

First section completed

Simon looking like an axe murderer
This time to wait out the curing process we went over to Brick lane in Shoreditch for dinner. The Whitechappel area of London is of course the location of the famous Jack the Ripper murders. I had to do a lot of research into this a couple of years ago when I was working for Auroch Digital and they were making a docu-game based around it. I even had the pleasure of going on a tour of all the grizzly murder locations. I came to the firm conclusion that everyone one on it was a nutbar, I had to be there for work, but that lot? No excuses. Nutbars.
24 hours passed and we returned to the studio. The silicon in the baking tray had set nicely leaving us with a set of matching silicon tongue like objects. Simon was very pleased, I told him he was a weirdo. Breaking away the glue we opened the box and pulled the two parts of the mould apart and removed the little wooden skewers that had created our pouring channels.
With the mould complete it was time to attempt a pour and ascertain our success. I was leaving in a few hours so we were limited to fast curing compounds, the ones we tried had a pot life of 2 minutes (how long you’ve got to get it in the mould) and a cure time of 15 – 30 minutes. The compounds consist of two separate chemicals you mix together and then in our case pour down a disposable paper funnel made from Simon’s ‘art’ magazines. Being a pro Simon had forgotten to buy any rubber gloves (you can develop an allergic reaction to the compounds before they set if you come into contact with them too often), then an unlikely hero came to the rescue in the form of our pile of silicon tongues. After pouring the stuff in we were able to seal the holes with a tongue and then rotate the mould about safely without getting it all over our hands (sort of). We could also use them to prop the mould up at different angles while it set, they stacked well and nothing would stick to the silicon so they turned out to be perfect.

My new multiracial family! Black, white and of course transparent
I was very pleased with the amount of detail that the mould picks up, it’s pretty much an exact copy. If I were doing this again I’d want to be careful about small extremities on the model, he had a couple of small fingers that were fine to print but very delicate for the mould. I’d also use a different dye in the mould sections as the black we added just turned the healthy flesh tone into an unhealty flesh tone, which ended up disturbing me even more. And I fully endorse tongues, those bad boys turned out to be indispensable.
Want to try lost wax next, just as soon as I’ve built a foundry in my garden…..